Take the perfect travel photo
Whether you’re an amateur, an Instagrammer, a photography pro or still trying to take some decent holiday snaps that don’t feature your thumb, a little advice never goes amiss – especially when it comes from a seasoned expert. With this in mind, we hit the road with an award-winning travel photographer, picking up tricks of the trade as we go
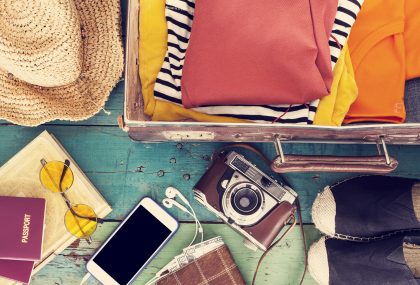
1) When it comes to kit, less is more
Perhaps a strange statement coming from me, given the amount of gear I travel with, but if you’re first starting out I think you should limit your options. One camera body and one or two lenses. And neither of those lenses should be a zoom. It will force you to work within the confines of what those tools offer you, and your photos will be better as a result. I promise.
2) BUT… bring back ups
Gear breaks. All the time. Make sure you have backup equipment. And then backups for the backups. Except when you are starting out and have no money – then cross your fingers…
3) Tripods, tripods, tripods
I use mine for shooting interiors, for long exposures at dusk, for razor-sharp portraits and everything else. You can carry a pretty small one that fits in a shoulder bag. Most cameras have a ‘mirror lockup mode’ that you should use when on a tripod on a long exposure; it minimises the slap of the mirror and, thus, the vibrations in your shot. I am also quite partial to the Really Right Stuff (RRS) base plates, so my cameras don’t move a millimetre once I put them on the tripod.
4) When you don’t speak the language
Lots of smiles and wild gesticulations tend to get the job done.
5) Plan
To be a great travel photographer, you need to be able to do both well: travel well; photograph well. Almost all of the work for good travel photography is done in advance; it’s no good travelling to a new place if you’re a mess when you get there. All of the logistics – where you are staying, where you are shooting, when you are shooting, contact info – are arranged well before the shoot.
6) If you are shooting food
Natural light is your friend. 95% of all food shots I take are by putting a dish near a window – you can carry a small reflector (or even a jewellery tent) to even out the light. For my aesthetic, reflections and specular highlights are the enemy, so I try and diffuse the light so it is incredibly soft for the food. Nothing turns you off a dish more than an oily appearance (though butter is delicious).
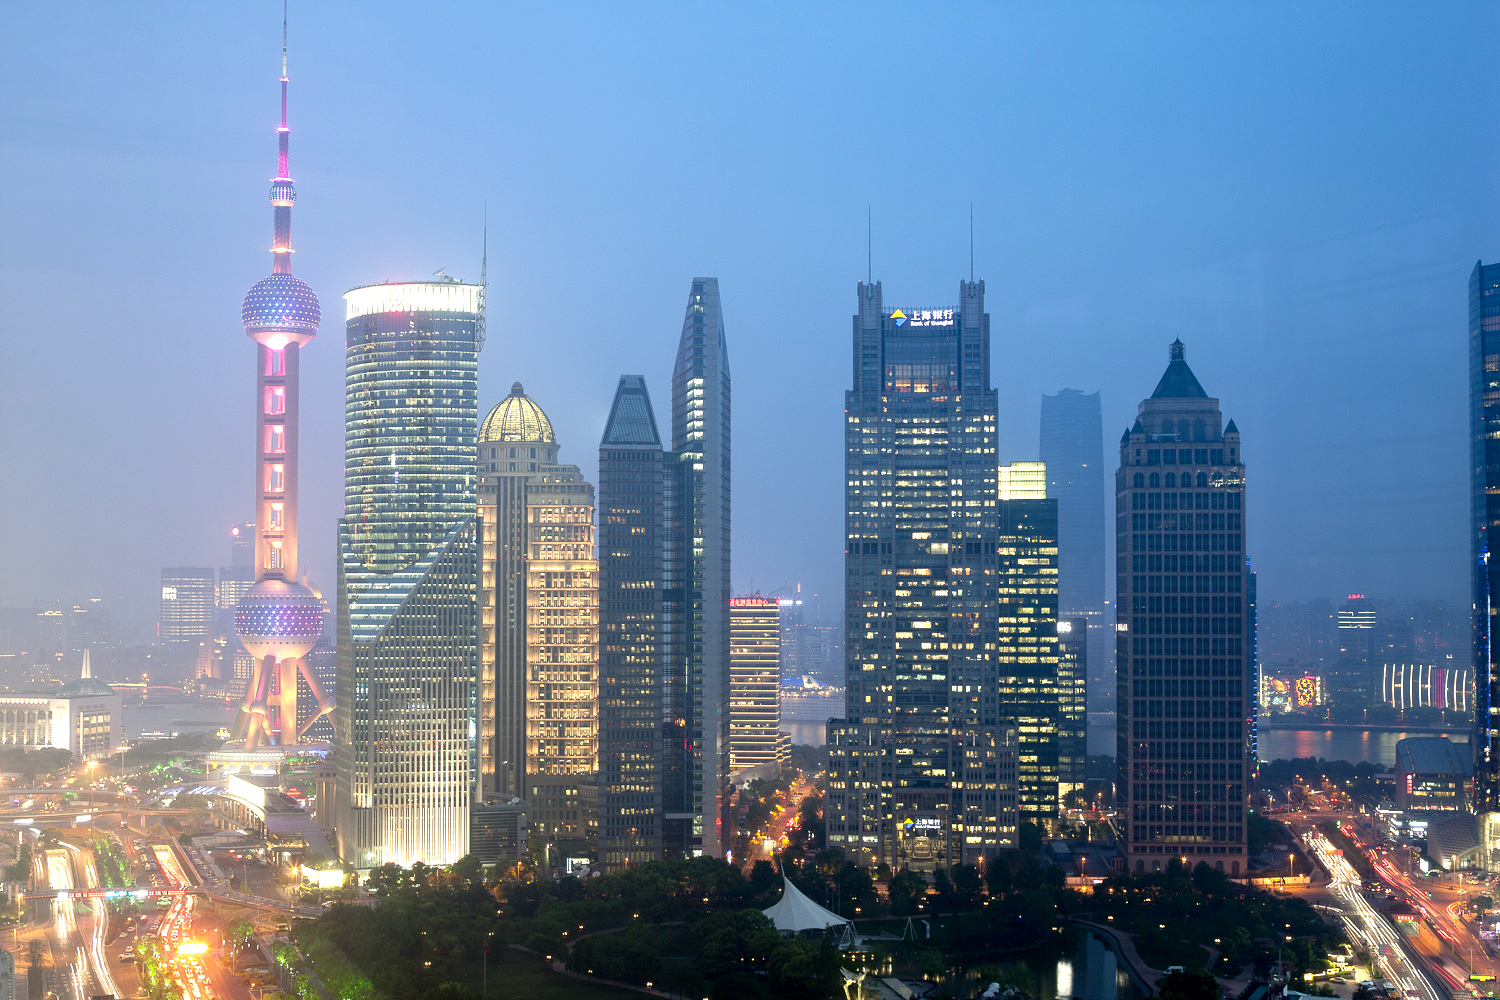
7) Take cityscapes after the sun goes down
I have found that some of the richest colours in the sky happen about 15 minutes after sunset. You still have a rich blue in the sky, but you also have the twinkle of the city lights. Of course, this depends on latitude, time of year and a million other things, but don’t think that just because the sun is gone that you should pack up. Stick around a bit and see what happens.
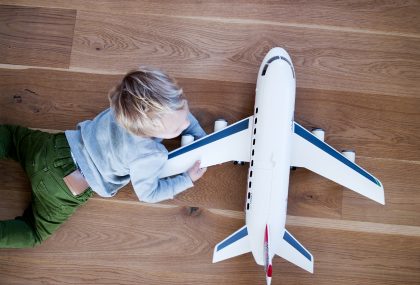
8) Leave enough time for serendipity
On most travel shoots I am given a hit list – shooting a dozen different places, plates and people over a couple days. And it is important to shoot all of them. It is equally important to build in extra time to allow for all of the shots not on your shot list. Oftentimes those are the best shots.
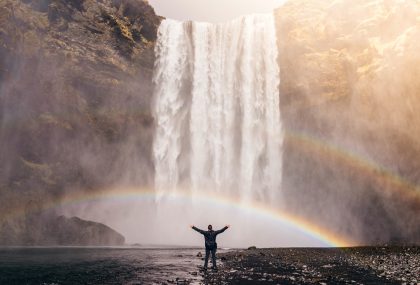
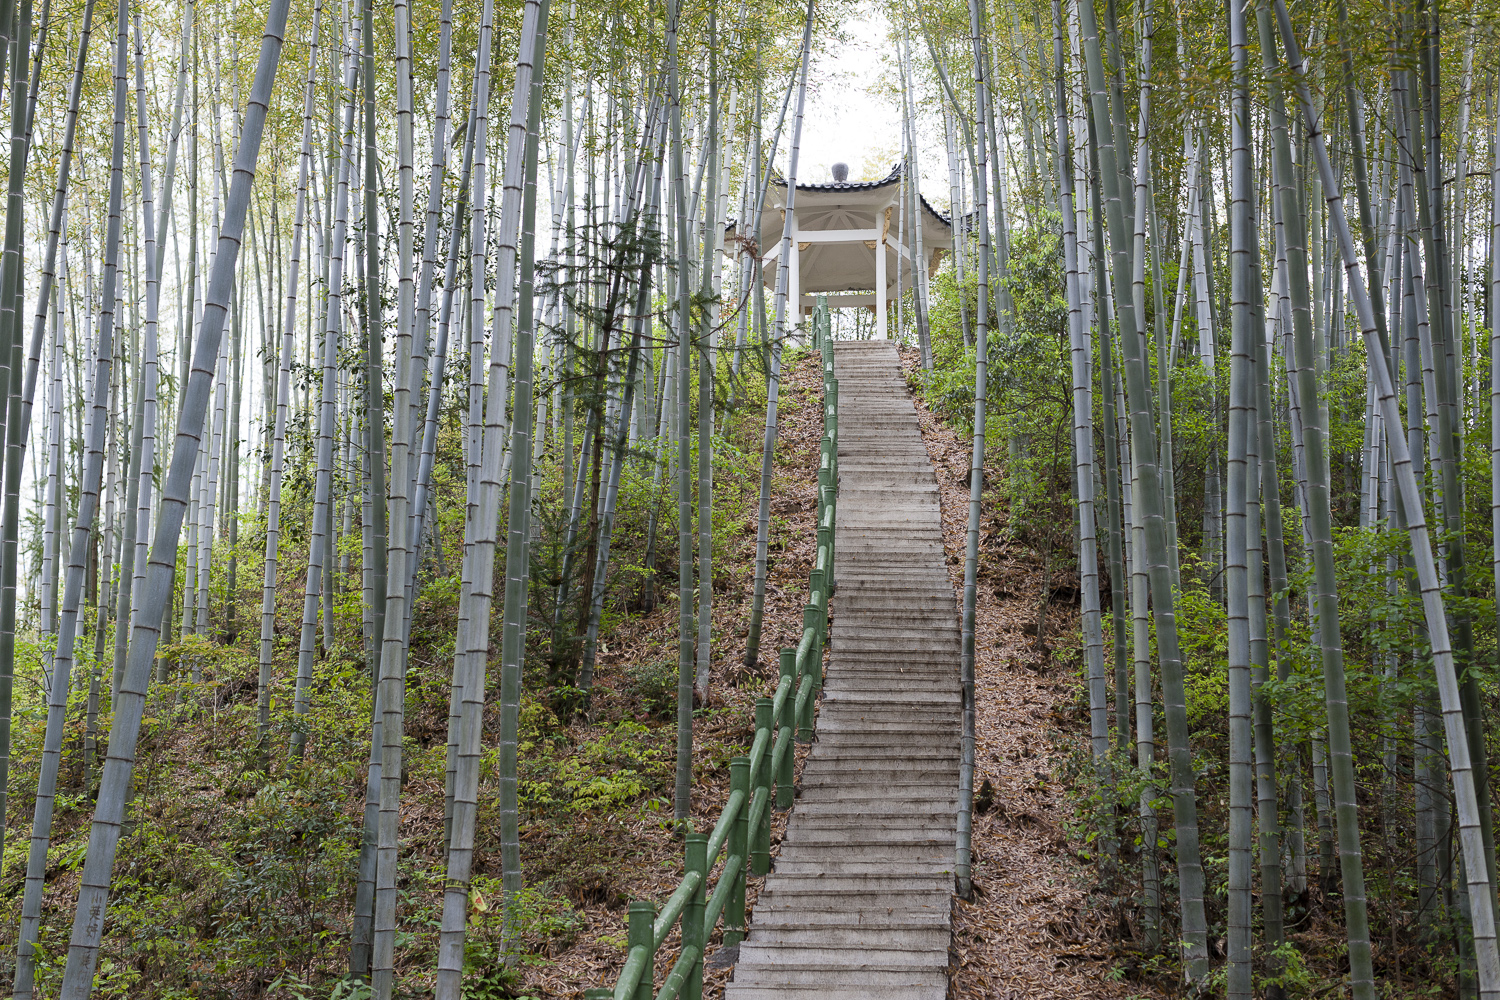
9) Go the extra mile
Some of my best shots come when I’ve grumbled to myself about what a pain in the neck it is to climb forty flights of stairs for a view… get up at 2am for a dawn shot … approach the wildly dressed stranger for a portrait… decide to ride a reindeer for three days. When you hear the voice in your head saying, “It is probably enough”, reject that voice and push on.
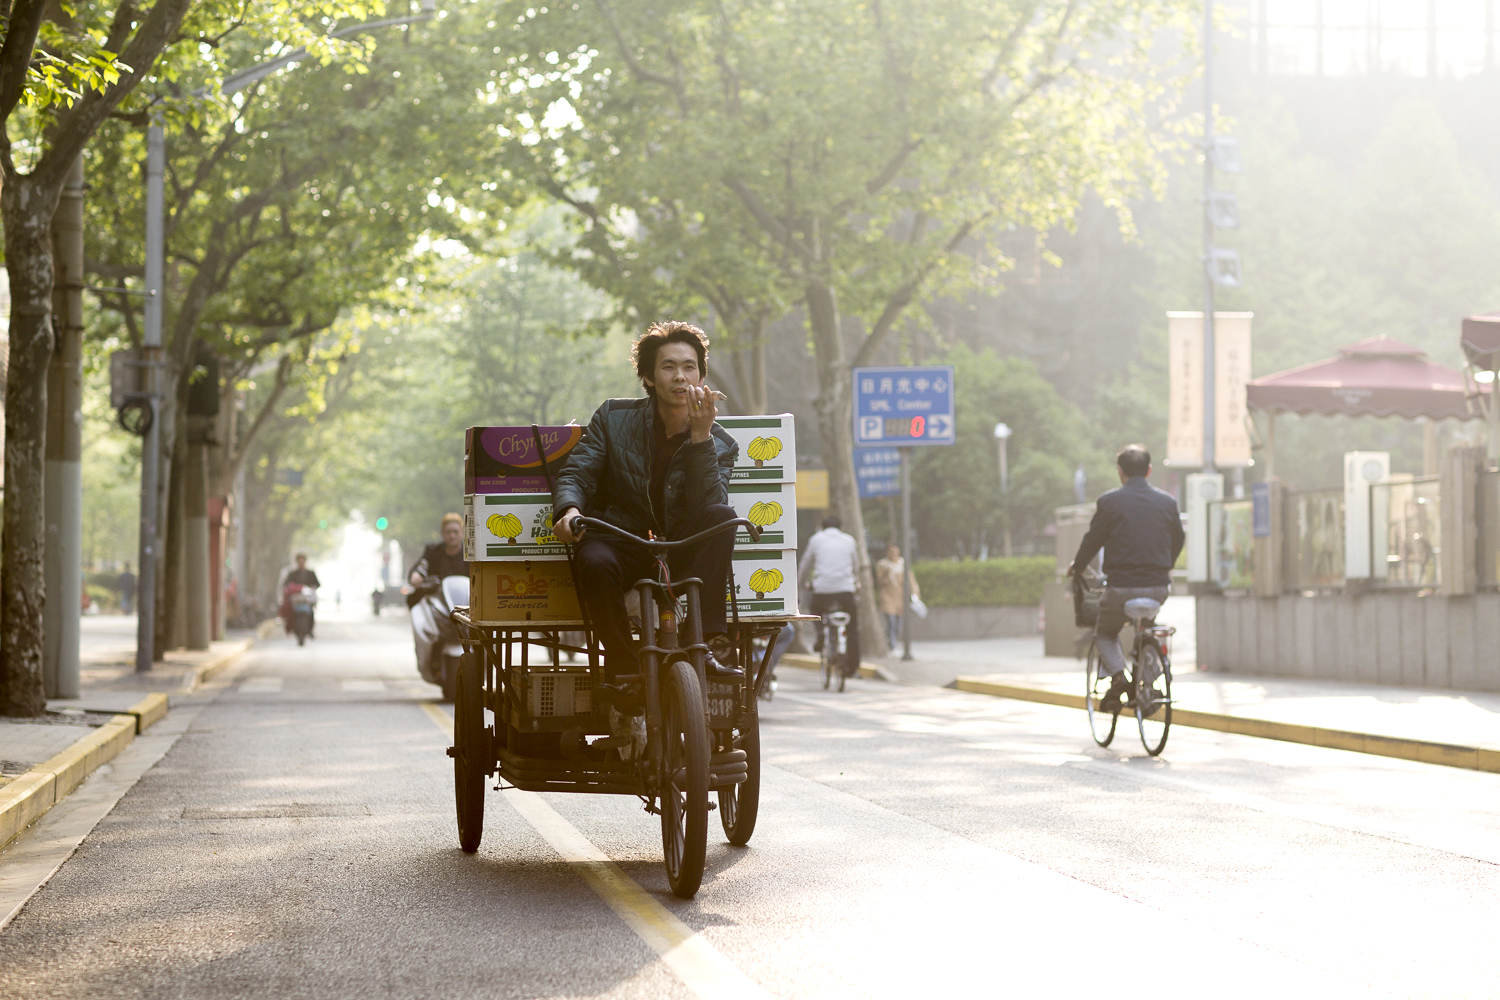
10) Take care of yourself on the road
I eat very very conservatively when I am on shoots in far flung places. I simply can’t afford to be sick – so even if I am shooting some insane food story in China there is basically a zero per cent chance that I am going to be trying the street vendor’s mystery dish. Fried rice? I’m in.
11) …and sleep
For me, sleep is paramount – I try to make sure I get a great night’s rest while on shoots as it makes me way more creative, patient and generally less curmudgeonly.
If you’d like to hone those photography skills even further, how about an intensive, on-location course in Morocco? Or try another of these amazing skill-learning holidays